

How to Fix a Leaking Flat Roof: A Step-by-Step Guide
A leaking flat roof won’t fix itself — every drop of water that gets through is silently causing damage. Follow our expert step-by-step guide to stop the leak fast, protect your property, and save yourself from an expensive repair bill down the line.
A leaking flat roof is one of the most common — and frustrating — problems homeowners and property managers face. Because flat roofs have minimal slope, water can pool and slowly seep through even the smallest cracks or gaps. The good news? Many flat roof leaks can be repaired as a DIY project if caught early. In this guide, we’ll walk you through everything you need to know — from identifying the source of the leak to applying a lasting fix.
⚠️ Safety First
Before stepping onto any roof, keep these safety precautions in mind:
- Never work on a wet or icy roof surface.
- Use a sturdy ladder and have someone spot you from below.
- Wear non-slip footwear and avoid working alone.
- Check local weather forecasts — aim for a dry, mild day.
- If unsure, always consult a professional roofing contractor.
🔍 Step 1: Identify the Source of the Leak
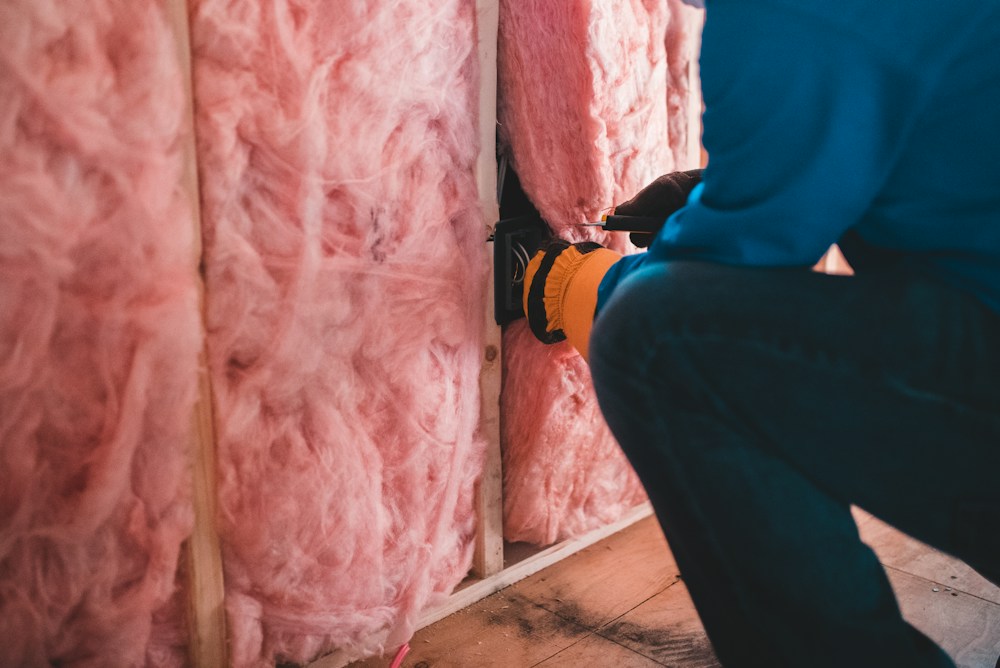
Finding the exact source of a flat roof leak can be tricky — water often travels before it drips inside. Start your inspection from inside the property, then move to the roof surface.
On the roof, look for these common warning signs:
- Ponding water — standing water that hasn’t drained within 48 hours.
- Cracks or splits in the roofing membrane or felt.
- Blistering or bubbling on the surface.
- Damaged flashing around edges, vents, or skylights.
- Loose or missing sealant around penetrations.
🧰 Step 2: Gather Your Tools and Materials
Depending on the type of flat roof you have (felt, EPDM rubber, fibreglass/GRP, or TPO), the materials needed will vary slightly. Here’s a general list to get you started:
🔧 Tools
- Wire brush or scraper
- Putty knife or trowel
- Scissors or utility knife
- Roller or brush for sealant
- Heat gun (for EPDM repairs)
- Safety gloves and goggles
🛒 Materials
- Roofing sealant or lap sealant
- Roofing felt or EPDM patch kit
- Flashing tape or metal flashing
- Bitumen-based repair compound
- Roof primer
- Waterproof coating
🧹 Step 3: Clean and Prepare the Area
A clean surface is essential for any repair to bond properly and last long-term. Skipping this step is one of the most common reasons flat roof repairs fail prematurely.

- Remove any debris, leaves, or moss from the repair area.
- Use a wire brush or scraper to remove any loose or flaking material.
- Clean the area with a dry cloth or allow it to air dry completely.
- Apply a roofing primer if recommended by your repair product manufacturer.
🩹 Step 4: Apply the Repair — By Roof Type
Different flat roofing materials require different repair methods. Follow the guide that matches your roof type below.
🔶 Felt / Bitumen Flat Roof

- Cut away any blistered or cracked felt using a sharp utility knife.
- Apply a layer of bitumen roofing compound to the exposed area.
- Cut a patch from a new roofing felt — slightly larger than the damaged area.
- Press the felt patch firmly into the compound, smoothing out any air bubbles.
- Apply a second coat of bitumen compound over the patch and feather out the edges.
- Allow to dry fully before applying a reflective waterproof coating over the area.
🔷 EPDM Rubber Roof

- Clean the damaged area with an EPDM cleaner or isopropyl alcohol.
- Allow to dry completely.
- Apply EPDM bonding adhesive to both the roof surface and the patch.
- Wait until the adhesive becomes tacky (usually 10–15 minutes).
- Press the EPDM patch firmly in place, rolling it out to remove air bubbles.
- Seal all edges with lap sealant for a watertight finish.
🟩 GRP / Fibreglass Roof
- Sand down the cracked or damaged area lightly to create a key for bonding.
- Clean away all dust and debris.
- Apply a fibreglass repair kit (resin + hardener + matting) according to manufacturer instructions.
- Apply the fibreglass matting and saturate with resin.
- Allow to cure fully, then sand smooth.
- Apply a topcoat/gelcoat to finish and protect the repair.
🔩 Step 5: Repair Flashing and Edges
Flashing — the metal or rubber strips that seal joints, edges, and roof penetrations — is one of the most common entry points for water. Check it carefully and repair or replace as needed.

- Remove any cracked or peeling sealant from around flashing using a scraper.
- Clean the area thoroughly.
- Apply new flashing tape or a bead of waterproof roofing sealant around all edges.
- If the flashing itself is bent or corroded, replace it with new metal or self-adhesive flashing.
- Press firmly and smooth down to ensure full adhesion.
💧 Step 6: Apply a Waterproof Coating
Once all repairs have been made and fully cured, applying a waterproof coating to the entire roof surface adds an extra layer of protection and can significantly extend the roof’s lifespan.
- Choose a product suitable for your roof type (bitumen, EPDM, GRP, etc.).
- Apply in thin, even coats using a roller or brush.
- Allow each coat to dry before applying the next.
- Apply at least two coats for best results.
🕵️ Step 7: Check Your Drainage
Poor drainage is a leading cause of flat roof leaks. After completing your repairs, inspect the roof’s drainage system and clear any blockages.
- Clear all drains, outlets, and gutters of debris.
- Check that water flows freely toward drainage points.
- If your roof has persistent ponding, consider having it re-sloped by a professional.
📅 Flat Roof Maintenance Tips
Prevention is always better than cure. Keep your flat roof in top condition with these regular maintenance habits:
- ✅ Inspect your roof at least twice a year — ideally in spring and autumn.
- ✅ Clear gutters and drains after heavy rainfall or storms.
- ✅ Remove moss and algae growth promptly.
- ✅ Reseal flashing and joints every 2–3 years.
- ✅ Apply a fresh waterproof coating every 5–7 years.
- ✅ Keep records of all repairs and inspections.
👷 When to Call a Professional
While many minor flat roof leaks can be tackled as a DIY job, some situations call for a qualified roofing professional:
- The damage covers a large area of the roof.
- The roof structure itself appears to be compromised.
- You’ve attempted repairs that haven’t held.
- The roof is over 15–20 years old and may need full replacement.
- You’re not confident working at height safely.
A professional roofer can also carry out a full thermal imaging survey to detect hidden moisture and damage that isn’t visible to the naked eye.
Final Thoughts
A leaking flat roof doesn’t have to spell disaster. With the right tools, materials, and approach, most leaks can be fixed quickly and affordably. Act fast, work safely, and maintain your roof regularly — and it will protect your property for many years to come.